Wednesday 30 April 2014

A Guide to TotsBots Nappies


We love TotsBots cloth nappies!  Little Owl tried her first one when she was about 3 weeks old and since then we have been hooked!  However, it can be very confusing at to tell the difference between easyfits, tinyfits, bamboozles, papoozles, V2s, V3s, V4s, training pants, fleece liners, paper liners and wraps.  Seeing as it is Real Nappy Week, I thought I would try to explain!

Easyfits
Easyfits are TotsBots signature nappy and have won them many awards over the years.  Easyfits are an "All-in-One" nappy meaning that you don't need a seperate waterproof cover.  They are also "Birth to Potty" meaning that the poppers on the front can be used to adjust the size of the nappy so it can fit babies from 8-35lb.   They really are easy to fit - they open like a disposable nappy but instead of sticky tabs, they have hook and loop (velcro to you and me but as that's a brand name you can't say it).

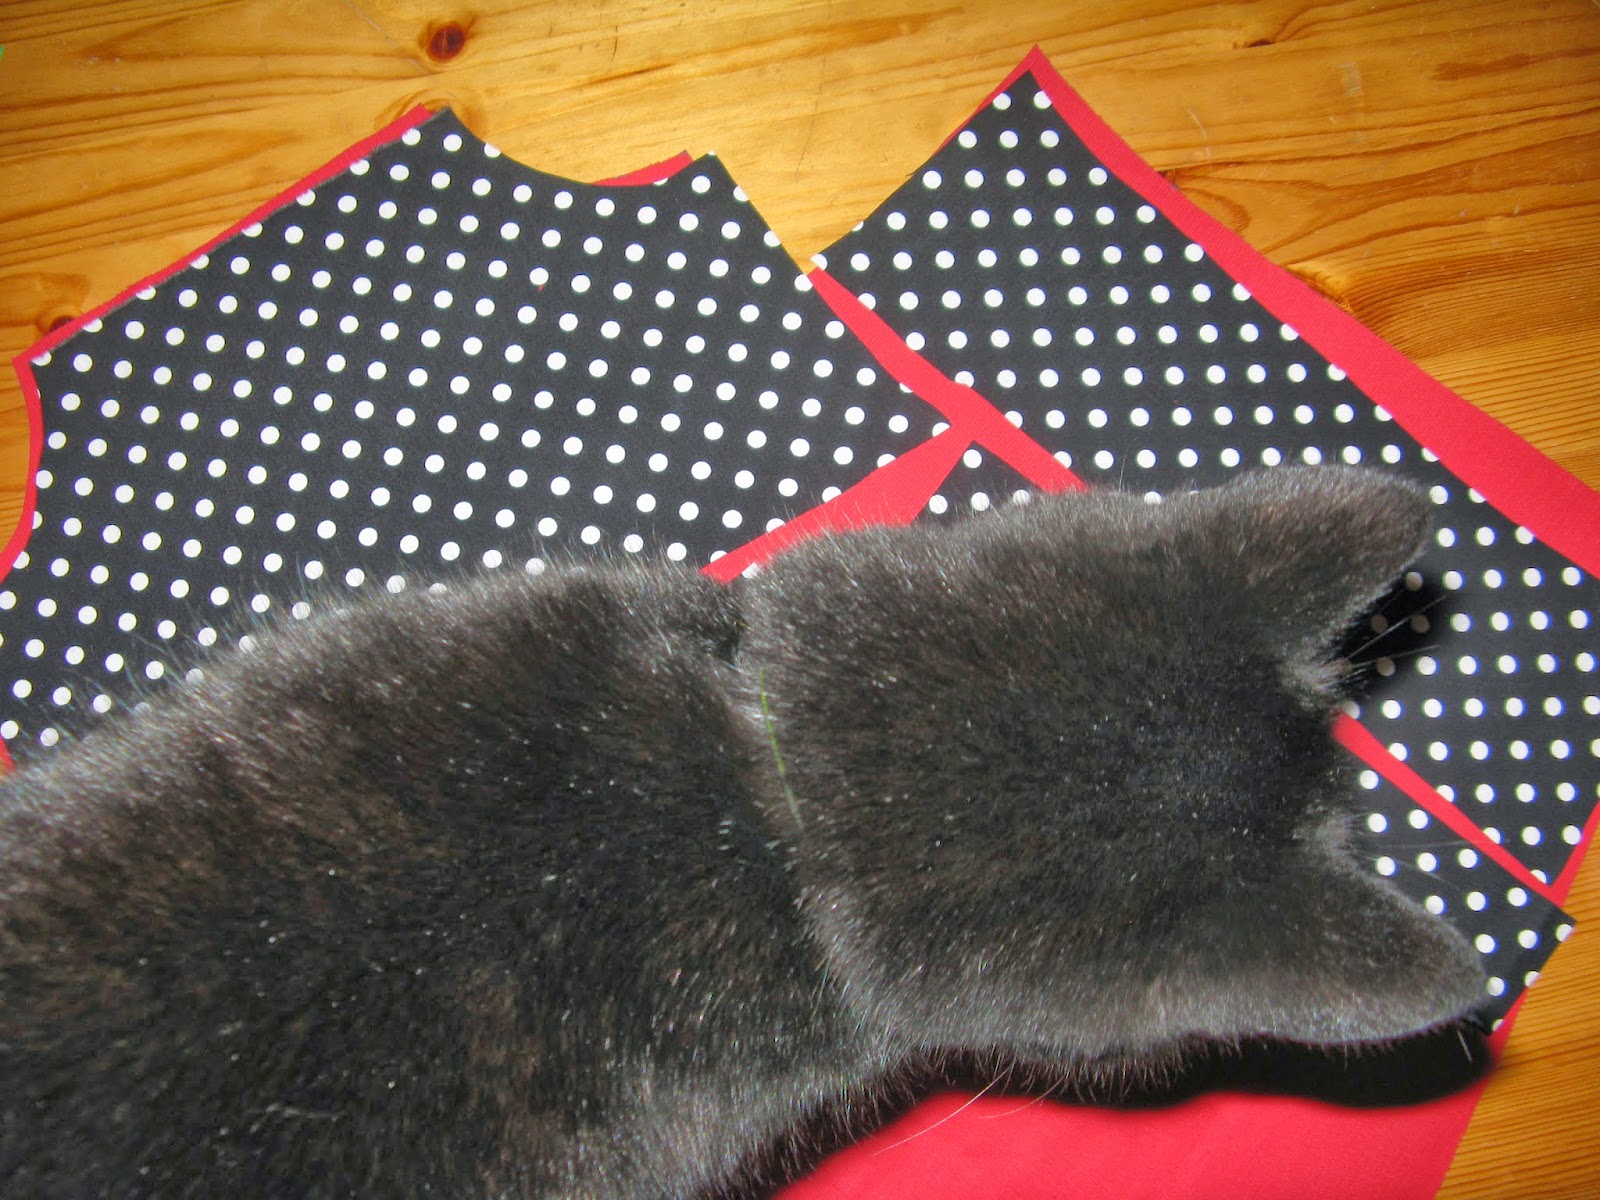
TotsBots aren't happy with having created an amazing nappy - they keep working on it, listening to customer feedback and trying to improve.  They are currently on version 4 - called the Binky or more commonly the V4.  As V2s and V3s are still available to buy I thought I would give you a quick overview of them all.
V2s contain bamboo which makes them very absorbent.  V3s are make from minky which is a soft fleece like fabric making the nappy much less bulky and very quick drying.  Generally they are not as absorbent as the V2s and many people find they need to add an additional booster if they are going to be on for more than a couple of hours.  This is easy to do and I found it gave us flexibility depending on what Little Owl and I were up to.  V2s and V3s also come with poppers instead of velcro hook and loop which can be handy in the summer with a toddler who can undo the other type. The V4s are brand new and are a best of both worlds being made from a combination of bamboo and minky making them the most absorbent nappy yet but also dry slightly quicker than the V2s.  I have given our V4 the ultimate test of putting it on Little Owl at night and although her skin was slightly damp around the edges, her clothes remained dry!  Another thing I like about the V4s (other than the amazing colour combination) is that it comes with a pop-in booster meaning that while your little one isn't wetting too heavily you can remove it and save on the bulk. When they grow, you can just popper the booster back in and it becomes part of the nappy.


Tinyfits
Tinyfits are well, tiny!  Designed for tiny babies from 5-12lb.  I didn't use these with Little Owl as when she was born I had no intentions of using cloth nappies, but if we are lucky enough to have another baby, I will be stocking up!


Bamboozles
These are one half of the "Two Part System" meaning you also need to add the waterproof wrap.   The whole nappy is made of bamboo and comes with a pop in booster if you need it which makes them a great night time nappy or for very long car journeys (or busy days). The poppers on the front means it is adjustable and fits from 9-35lbs.

Wraps
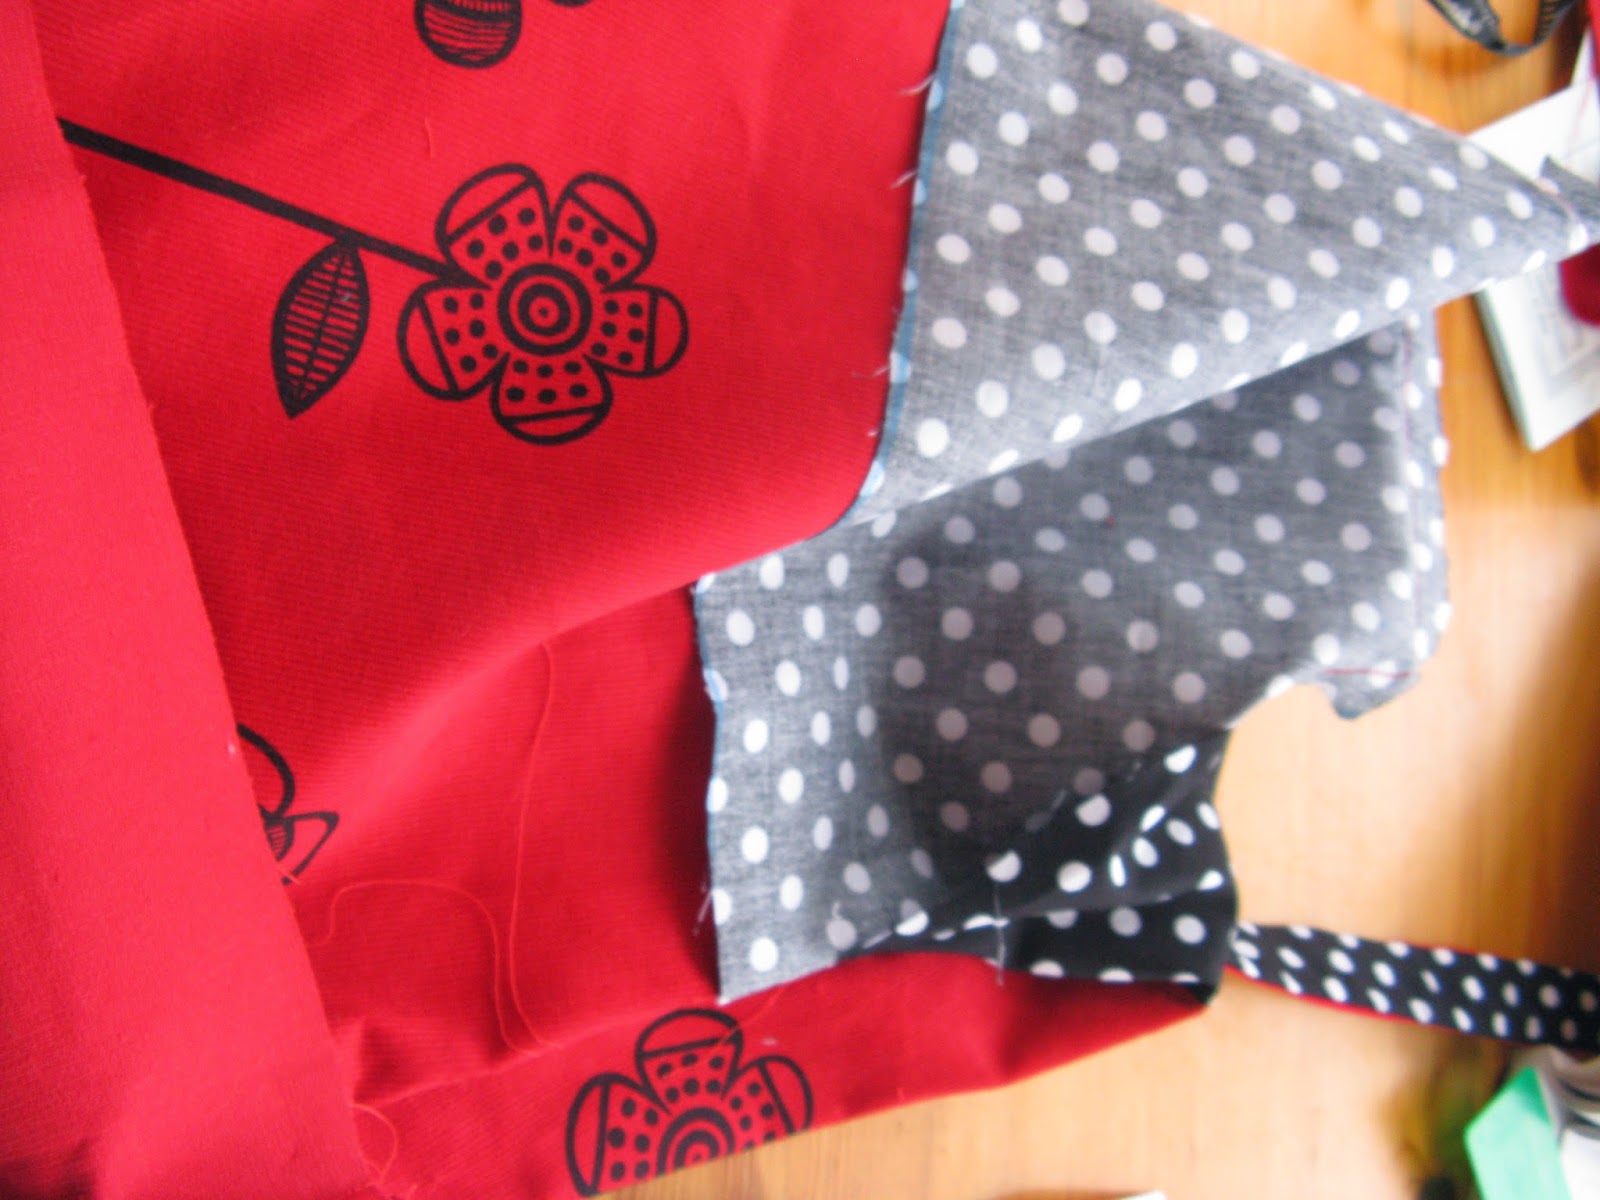
Wraps are a waterproof outer layer that need to be worn over the bamboozles.  The TotsBots wraps used to come in several sizes, but if you look at the new stretchy wrap on the right, you can see that it has the adjustable poppers on the front meaning that it can also be used from birth to potty.

Training Pants
I love the TotsBots training pants.  Unlike disposable training pants which are actually just nappies that you can pull up, these training pants are a real step between nappies and pants, even if you haven't used cloth nappies.  They have a thin minky liner in them which will absorb a small accident but allow the child to know that they are wet.  They also have side poppers so if they need removing, it can be done like a nappy without the need to take off shoes and trousers!  I have been using them on and off for about a year, I find them particularly useful when I go away without cloth nappies as they can be easily hand washed and dried - they were invaluable in India and I even took them camping last year!


So there you go, that's TotsBots all wrapped up if you will pardon the pun!

There are lots of offers about this week, but once all the fun of Real Nappy Week is over, the code RH10 will get you 15% off if you order on the TotsBots website (excludes Whats New, Clearance and Potion).
We're going on an adventure

Monday 28 April 2014

Cross Mondays Week #6

Not much progress to show this week as a certain Little Owl turned two and so my evenings were filled with present wrapping and cake making!

I'm really enjoying it coming together at the moment, adding the detail and bringing it all to life.  A small change, an additional colour really adds to it all.  People keep asking me how long I think its going to take, but that's a bit of string question.  I wouldn't be surprised if I was still stitching it in 2015, actually, I would be surprised if I wasn't!

The pattern itself can be divided into 5 distinct areas - 3 panel on the design, the extra panel that I am adding to hold Little Owl's name, and the border.  So far I have started 2 of those areas, but neither are complete and yet here I am - 6 weeks in!

Friday 25 April 2014

The Mummy Tag


The lovely Baked Potato Mummy has tagged me in the Mummy Tag.  The idea is for me to answer 20 questions about myself so that my readers can find out a little bit more about me!  I will in turn tag another blogger and so the tag continues.

1. Are you a Stay at Home Mum, or a Working Mum?
Working Mum, but only 2 days a week, term time only so it doesn't really count does it?
2. Would you have it any other way?
No I don't think I would.  Little Owl goes to my parents when I am working and she loves it and so do they.  Two days works really well for me too, it means I really appreciate the 3 days I get to be with Little Owl.
3. Do you co-sleep?
Yes.  Well we did.  Its one of those things that you say "oh I'd never do that" before you have kids but then realise that its one of the most natural things to do.  Little Owl was a great sleeper for the first month or two and then she quite simply stopped and the only way we would get any sleep was for her to be in our bed, and that's where she stayed until she was nearly 2 when someone flicked a switch and she suddenly started sleeping in her own bed all night.  It was magic and we still can't quite believe it.
4. What is your one must-have item for your baby?
A sling.  We've had various ones over the last two years, different types to suit different stages and situations, but I wouldn't be without. 
5. How many kids do you plan on having?
Oooh - this is an interesting one!  At least one more (fingers crossed), maybe two?
6. Date nights? How many do you have per month?
PER MONTH?!!!!  You're kidding right?!!!  Gosh, in the last two years, we have been to the cinema once and out to dinner once.  I think there might have been a couple of other nights out.  So um, that's once every 6 months.
7. Your child’s favourite show?
Anything on CBeebies really.  Pingu was a favourite for a while but think that was just because she could do a Pingu impression!  RaaRaa, Granny Murray anything really.
8. Name one thing you bought before you had the baby and never ended up using?
A breastfeeding scarf.  I totally bought it because I fell in love with the picture of the woman calmly and elegantly feeding her baby on their packaging.  When it came it stank (you know how pregnant noses are extra sensitive).  And then it turned out when I tried to use it, I wasn't as skinny or elegant as the woman in the photo and it was just a mess.  So I put it in a drawer and bought another less elegant scarf to hide my endless bulges of flesh that would make an escape bid while I try to get Little Owl to latch!
9. Your child’s favourite food?
Peas?  Maybe grapes?  I've never known her to turn down a sausage either... Not sure really as with limited speech she's unable to communicate the complete range!
10. How many cars does your family have?
Two.  A sensible one and a mini.
11. Weight gain, before pregnancy, during, after and now?
I lost over 7 stone before I fell pregnant, put most of it back on during pregnancy, and the rest while I was trying to establish breastfeeding.  Suspect I have put a bit more on now.  Oh well.
12. Dream holiday with your kids?
When Little Owl (and any future Owls) are older, I'd love to take them to Egypt and see the pyramids, Valley of the Kings etc.  I went in 2005 with Explore and it was amazing.  Its a trip that would capture the imagination of kids too.
13. Dream holiday without your kids?
Maldives?  I always see those little huts perched out over the sea and think wow!  We did consider it for our honeymoon but were told that the weather couldn't be guaranteed - you'd be gutted if you went and it was raining right?!
14. How has your life changed since having kids?
Really?  You need to ask?  How can you even begin to answer this question? Life has changed.  Lots.
16. Where do you shop for your kids?
I love shopping for Little Owl and try to find some different and unusual clothes in bright designs.  H&M is my favourite high street shop as the clothes are neat fitting while designed to fit over cloth nappies.  Actually, most of my favourite brands fit over cloth nappies, Frugi are so lovely and soft as are Me&i and both ethically and organically produced.  I've also become a bit of a fan of a Danish brand called Me Too although haven't found anywhere that stocks them yet!

17. Favourite make-up and skincare products?
Not really my thing, but I like BarryM eyeshadow, and Body Shop products.

18. Huggies or Pampers?
Neither.  I have used disposables, mainly when we've been on holiday, but generally we use cloth nappies - TotsBots are my favourites!
19. Have you always wanted kids?
Yes.  I was never in a rush but always assumed that it was something that would happen one day.
20. Best part of being a mum?
If you are a mum you don't need to ask!

Question 15 appears to have disappeared in the depths of time.  I have back tracked through the Mummy Tag and there is no sign of it!  If you happen to come across it, please send it back! 

So that's me - hope you have enjoyed the read.  I am tagging Mary-Kate from Mummy Memories, Ickle Pickle from The Little Life of Ickle Pickle and Louise from Tattooed Lady with a Baby.


Our IVF Journey: All the fun of living life with twins

Wednesday 23 April 2014

Clothkits Pinny Review

 For Christmas, Little Owl and I were given a joint present of a 

Clothkits is new to me but Papa Owl apparently grew up in it!  The concept is that each kit contains everything you need to make the item - in this case a dress - which is lucky really because the only item I have sewn before was Little Owl's angel costume for the nativity play!

Here is what was in my kit - the material with the pattern already marked on it, material for the lining, buttons, labels to make it look professional, the right coloured thread and of course, the much needed instructions!

 This pattern is for ages 1-2, and the different sizes are marked on the pattern.  I really like this concept, for a beginner like me it means I don't have to worry about cutting patterns and pinning and tracing and all the other things that I imagine are involved in dress making!
 
 Here is the dress all cut out including straps, a pocket and a label!
 
 
 Laurel cat wanted to help, but cats really aren't very helpful 
when it comes to sewing as I found out....
 
 
 I then had to use the pieces I had cut out as templates 
for cutting the lining - what a good idea!
  
 
 As a newbie to sewing, I am always surprised how far into a project you are before you actually get the sewing machine out!  I really liked the fact that I got the right coloured cotton with my kit - its the small touches like that which makes Clothkits a much loved brand!
 
 The first bit of sewing was the straps - these were quite easy to do although 
turning them the right way round was a bit tricky!

 I then needed to pin the lining and the straps.  
I was a bit nervous but this was actually ok!

 Unfortunately I got myself in a pickle with the lining - twice!

After this the battery in my camera ran out but I was so determined to finish the dress,
 that I didn't even leave the room for refreshments!

The kit came with 3 buttons, 2 to hold the straps on and one to create a pleat at the back.

However, Clyde cat thought these were great fun to play with and they have never been seen since!

Luckily I had some press studs for another project that I never actually started, and with the aid of a mallet, managed to attach them to the dress!

It worked out well as I think the press studs look ace
 and I haven't the foggiest how to do button holes!

You can also see on this picture where I have 'top stitched' - you see I'm learning all the terms!

Just a pocked to add and all is good!
 
 Now you remember that 3rd button to go on the back?  That needed two button holes and well, I wasn't feeling that brave and also wasn't sure if it was really needed... but it turns out it is!  Without it the straps keep falling down.  I've cheated here too - I bought some small press studs to create the same pleat at the back.


Overall I think the kit, its contents and instructions are brilliant.  It includes everything you need to make the item as long as you can stop the cats from stealing them!  The instructions are easy to follow although as I've proved, not fall proof!  As I've shown, a beginner can pick it up and end up with a dress, an experienced sewer will end up with a  perfect dress!

I enjoyed doing this kit so much that I've now bought the Hat and Bag Kit to match!
Family Fever

Monday 21 April 2014

Cross Mondays Week #5

I've done the maths and its ok!  I'm sure none of you are really interested so I'll say it quickly and you can skip it but it was much simpler than I thought it would be.

I gained 15 squares at the top (from where there is space for a name on the pattern) and 84 squares from adding the extended border, totaling 99 squares.  I then looked at the height needed for the letters in this pattern and other patterns I have done.  I also checked out pinterest!  Basically, most characters are 11 squares high.  This means I have enough space for Little Owls full name and date of birth as well as an extra vine going across.  And a little spare as this only comes to 76 squares!  This is great as it means I don't need to squeeze her date of birth in somewhere else.  So the plan is to work up from the bottom, and down from the top and work out how I'm going to fill the space when I get there!
 
I love it!

I feel like its coming to life this week.  Adding the colours and the detail are great fun.  Now I've got started on it proper, each thread is adding depth and interest (rather than size when I was doing the border).  I must admit I'm being a bit lazy still, the red border going up the left hand side is not complete, I've just done half stitches so I have a guide to know where to place things on the inside.  I know I will have to go over these at some point, but they are a nice and easy thing to do if I'm really tired (or have a glass of wine!).

I've got a question for cross stitchers out there though - I need to sew the edge as its starting to fray - can I just do this with a running stitch on the sew machine?


Friday 18 April 2014

We went to visit a farm one day...

We are very lucky to have friends that have a sheep farm.  Its been a few years
since we last visited and in that time they have gained a few extra animals!
They now have some chickens who had laid an egg!  The chickens were an instant hit with Little Owl, I think because they were smaller than her - see how she is signing chicken!
Actually, Little Owl didn't mind the cows as although they were very big, they were safely behind a fence!  I'm not sure what they made of her though, mooing at them!
But really we had come to see the sheep and their lambs.
There was one little lamb called BaaBaa (black sheep) who had been orphaned and needed bottle feeding.  Little Owl wasn't sure at first, but as her confidence grew, she became very concerned that BaaBaa finished all her milk!


Country Kids from Coombe Mill Family Farm Holidays Cornwall

Wednesday 16 April 2014

Coconut Chutney

One morning in India, Little Owl and I were invited to a friends house for breakfast.  While my friend kept Little Owl entertained I tucked into dosas and coconut chutney.  It was the first time I had had home made dosas (rather than at a restaurant) and they didn't taste or look that different to English pancakes so I thought I might give them a go.  But first, I needed to learn how to make the chutney!

My friend insisted that it wasn't too difficult and so I decided to give it a go!

Here is the recipe she sent:
Half a fresh coconut
5 green chillies
Fresh coriander
Salt (for taste)
Tamarind (little)
Jaggery (very little)
Grind all the above ingredients.
Heat a pan with 2 tablespoons of cooking oil. 
Once the oil is hot, put a pinch of mustard seeds and then add the grinded chutney.
Stir it well and its ready to eat. 

 My first challenge was to find all of the ingredients.
The coconut, chillies and coriander were easy to find.
 
Jaggery is completely unrefined sugar that is used in a lot of Indian cooking.  I have yet to find any in my local supermarkets and so have substituted with brown sugar.

I was pleased to find some tamarind paste in Sainsbury's which consisted of 80% tamarind paste and the remaining made of sunflower oil, water and white wine vinegar.

Before you can grind the ingredients you first have to crack the coconut - find out how here!
So grinding...

I figured this could be done with a blender and so borrowed one... I tried every blade it had...
But try as I might it never made a smooth paste.

In the end I admitted defeat, and added the mixture to the pan with the oil and mustard seeds.

I'll tell you what - it might not look like the gorgeous chutney that I was services but it tasted delicious!

Now I've just got to work on finding a way to grind coconut - all suggestions welcome!


Our IVF Journey: All the fun of living life with twins

Monday 14 April 2014

Cross Mondays Week #4 Historical Sampler Review

After 4 weeks of working on my cross stitch I thought it was about time I reviewed the kit.  Its brilliant but I'm guessing you want more detail with that!

The first thing I noticed about the kit was that instead of coming in a plastic wallet with a hook to hang it from in shops, it is presented in a gift bag.  Initially I just thought that this looked nice but it has been brilliant.  It comfortably stores the complete kit as well as my hoop, scissors and any other odd bits I throw in there.   The other bonus is that it has a picture of the design on the outside which is really useful for referring to, particularly when I've been doing the border to check how many flowers there are.  As the bag stands up on its own, it means I can just sit it on the table next to me and keep glancing at it.
The instructions which came with the kit are good, there's enough information for a beginner to get started, but not too much to get bogged down in, although perhaps a diagram or two might help.  The pattern itself is easy to follow.  Instead of using squares, dots and triangles as codes for the different colours, they use letters - simple and very easy to follow, it makes me wonder why others don't do this.  The only slight critisism I have of the pattern, is that there's no overlap between sheets.  Other patterns I've used have a 5 square overlap which makes it very easy to move between sheets.  However, they did include a sheet of square paper for you to work out the spacing on the letters which is really useful.
I've already mentioned how they've used letters for the colours and this is transferred to the thread-holders where not only the letters but the colour name and DMC number are printed.  The best bit is that the threads were already hung on the cards in the correct places!  This was brilliant, I can't tell you the time that is spent before you can get going on a project sorting out colours, trying to decide if you are looking at bright green or spring green!

So last week I left you on a bit of a cliff hanger, would the border match when I got back round to the top or not?  I was very impatient to find out and put in quite a few hours this week to find out one way or another!
  
It matched PERFECTLY!!!

So here it is on week 4, a complete (and perfect) border, and I've started filling in at the bottom.  But its still in the same bright green and I'm getting a little bored of it!  I'm also not sure on where I'm going to fit in Little Owl's date of birth.  I keep going back and forth on what to do, and I think I've come to the conclusion that I need to find out how much space I have to fit Little Owl's name into, and then find a font that will fit.  Then, using a complimenting but smaller font, work out how much space I need for her date of birth, and finally find a space on the pattern to make it fit!

Don't expect much progress next week as all of this is going to take some working out!

Family Fever
Related Posts Plugin for WordPress, Blogger...